DIY Personalized Pumpkin!
- Posted on September 25, 2020
What to do for your boyfriend who loves Halloween and you’re celebrating your anniversary in October? Well, a DIY personalized pumpkin of course! I wanted to create something special and meaningful. You can try this yourself with a photo of a loved one, couple or a pet! The fewer details and subject matter the better. Please read through all the directions before beginning and a word of caution: Be careful sculpting with that sharp knife!
My chosen image to carve.
DIY Personalized Pumpkin- you’ll need:
Pumpkin
Large knife
Large spoon for scraping
Pumpkin drill (or small, round object with a pointed end) or X-Acto knife
Pumpkin detail saw (carving kit)
Tea light or candle (electric flicker candles are not bright enough)
Masking tape
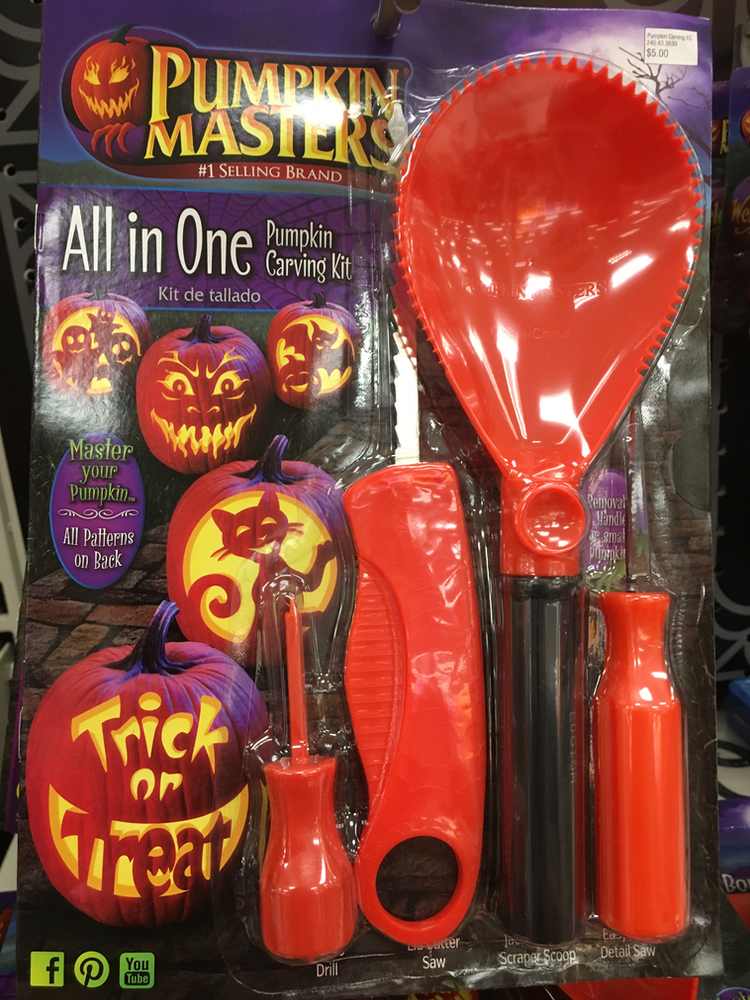
You’ll need the “drill” and “detail saw” like the ones in this kit. (far right and left tools)
Wanna give it a try? Choose a pumpkin with a surface wide enough to hold a standard 8.5 x 11″ sheet of copy paper. Start by cutting a lid out of the top. I like to angle the knife inward so that once finished, the cap will fit back nicely. Remove the pulp inside with a large spoon and separate the seeds from the membrane. We’ll roast the seeds later because they are delicious!! Scrape the inside of the shell for a smoother surface.
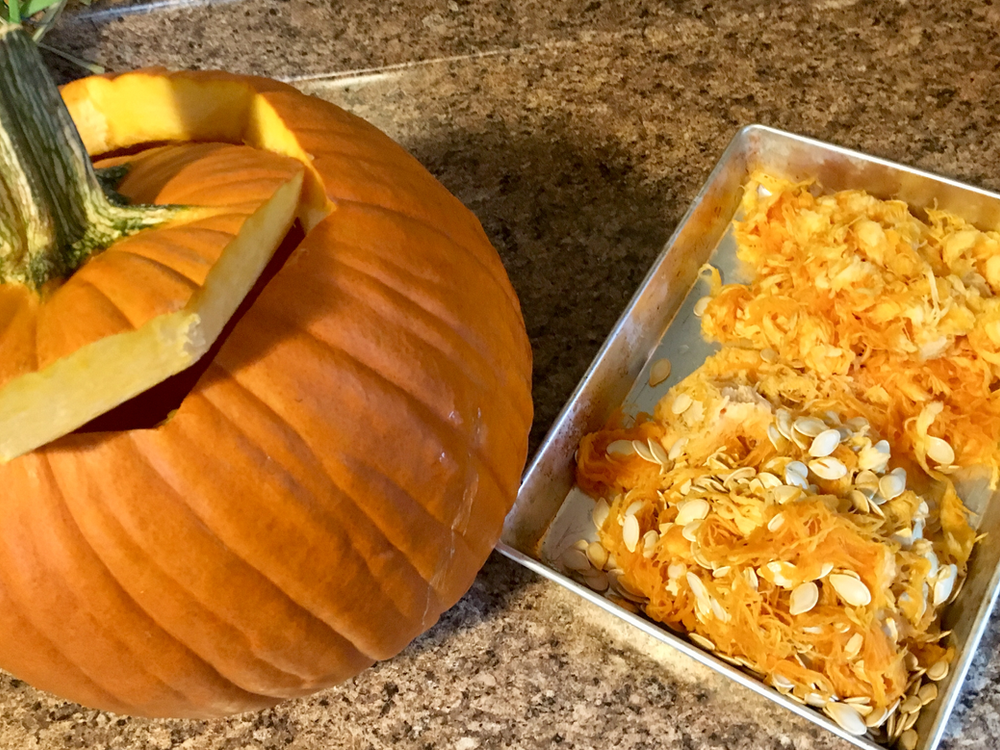
Pumpkin with lid and inside goodness!
Choose a favorite digital photo and open it in Photoshop. Apply the “Stamp” filter and adjust the “Light/Darkness” and “Smoothness” features to edit out smaller aspects. You don’t know how that’s done? Just email your digital photo to me at BackroadBluegrass@gmail.com and I’ll return, ready to print!
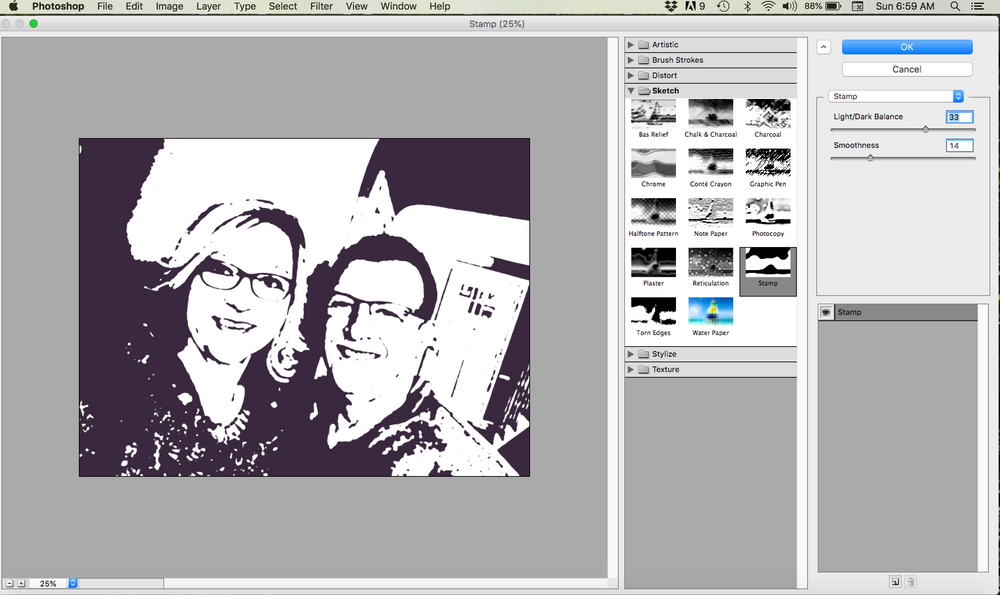
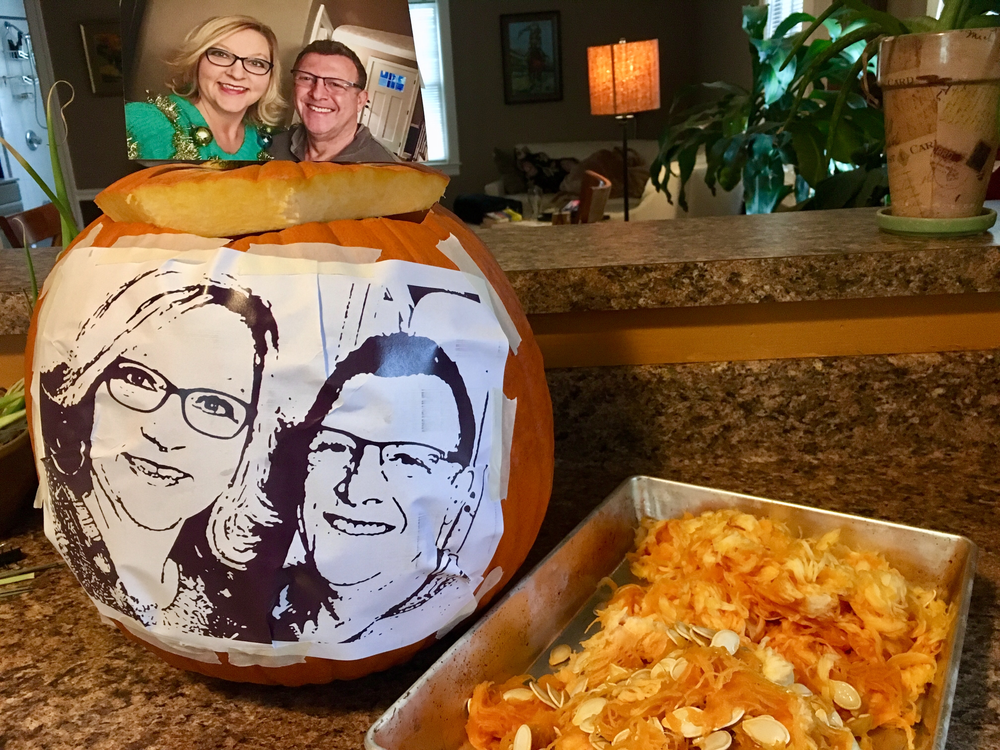
Photoshop your image using the Stamp feature. Don’t know how? Email to me and I’ll help ya out! You can now upload Photoshop app on your phone.
Print two copies of your revised photo. Set one aside and affix the other to your dry pumpkin with masking tape. You will need to fold creases to compensate for the curved surfaces. Avoid molding your paper where it affects the main characteristics of your image.
Use the drill to poke holes through the paper along the lines of your figure. Keep as basic as possible without too much accessorizing. Don’t perforate something like a full circle or a pair of glasses as that will leave a hole that won’t allow for the eyes, for example (I skipped the glasses on mine). Mark each spot about a ¼” apart; closer for anything smaller. If using an X-Acto knife for outlines, cut the inner features first.
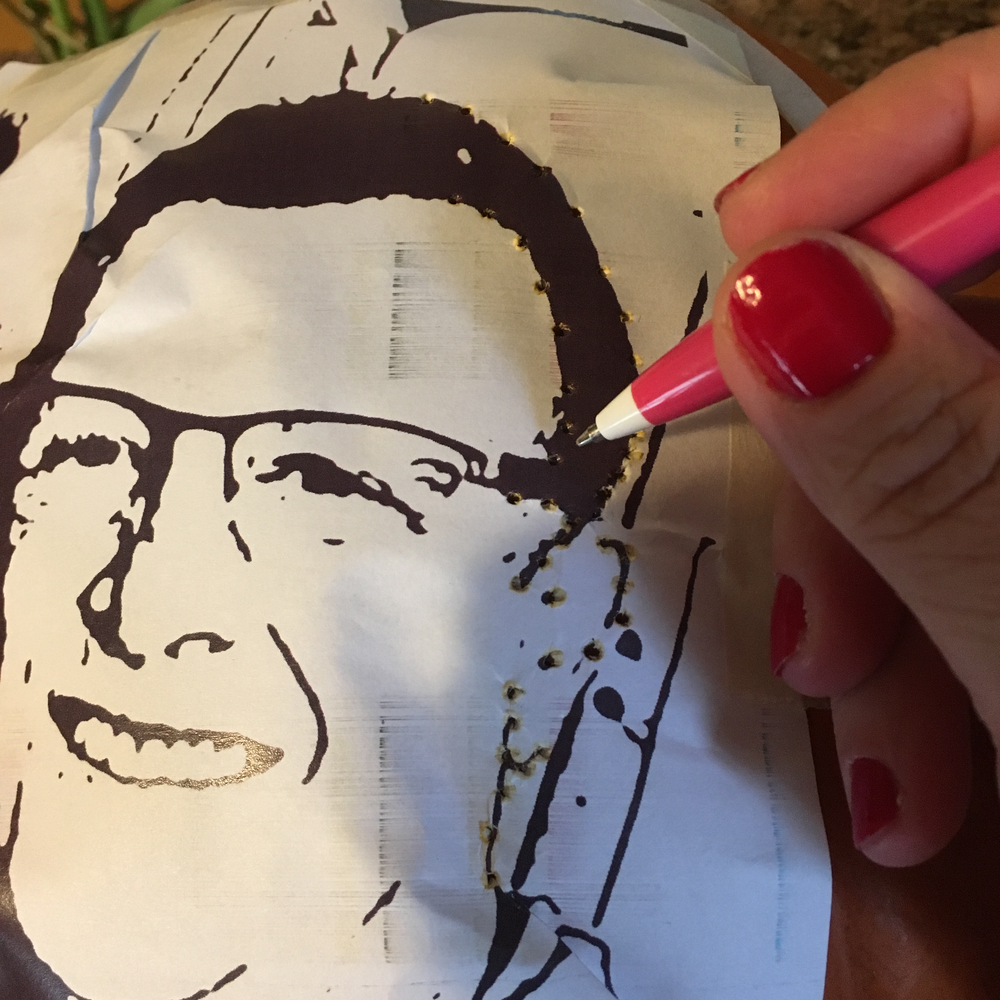
I’m using a pen but I recommend the drill from a pumpkin kit.
Once you finish and remove your paper, it will look like a connect-the-dots without those helpful numbers! Examine your picture and decide what pumpkin parts to discard and retain to form the desired effect. Continue to reference your copy. You may also choose to transfer your template by cutting along the image using an X Acto knife to mark your pumpkin. Be sure to do the smaller parts first.
One important thing to remember is to address the tiny, inner details first, especially if there will be additional cuts around them. For instance, you sculpt the eyes before the brows, smile lines, etc. You may decide a direction as you continue. I free-styled the hair on my pumpkin.
If you have larger sections to remove, cut them into chunks and push them out in pieces. Should you accidentally lop off a necessary item, use a toothpick to reattach it from the inside.
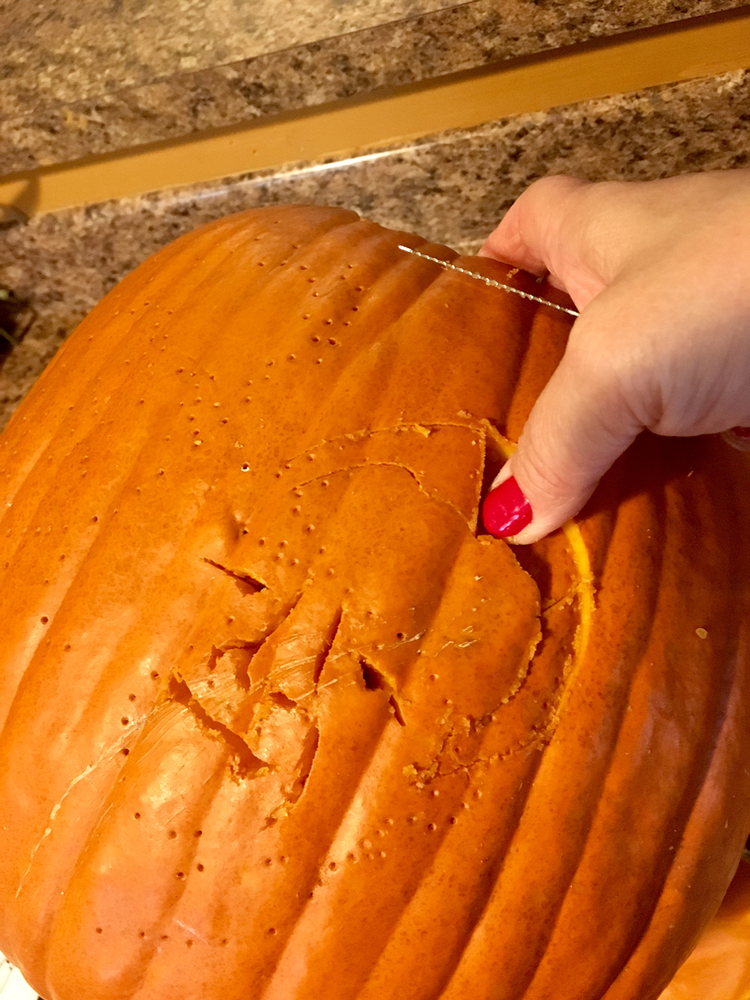
Section off larger pieces for easier removal.
Don’t sweat your creation too much. This can be a free-flowing adventure! My thought during the process was that if the jack-o’-lantern didn’t turn out well, I’d simply carve the other side with an easier design and go with that. Think more Picasso than Michelangelo. The objective is to have fun!
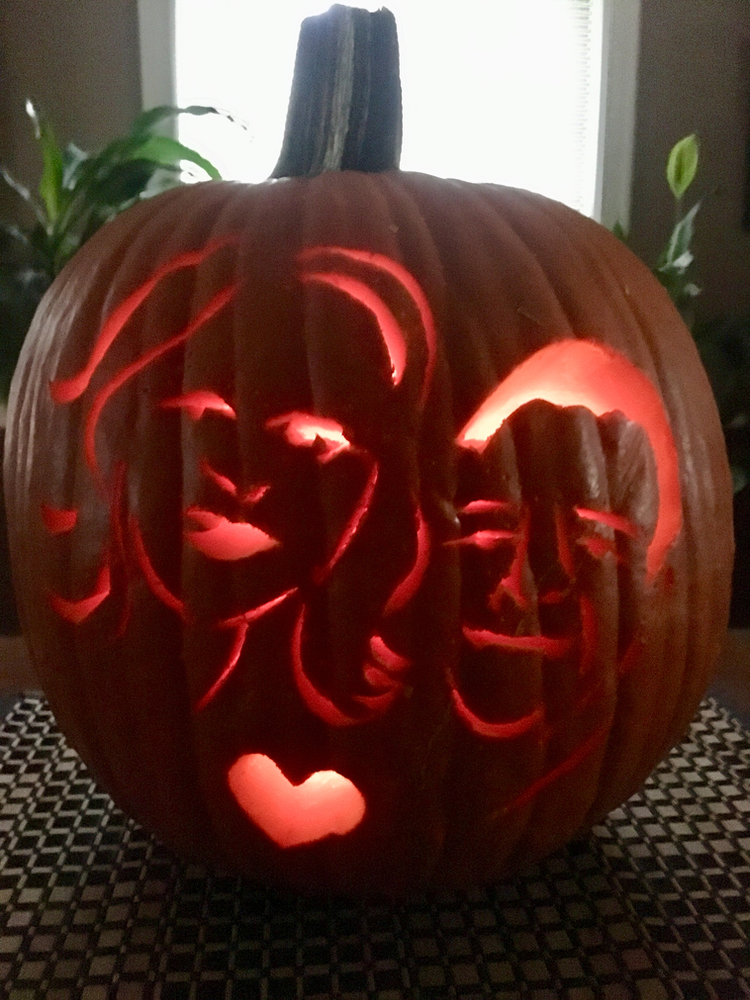
Once you’ve completed the main image, return for alterations. Light up the interior with the tea light to determine if more refinement is needed.
Viola! I love the finished image!
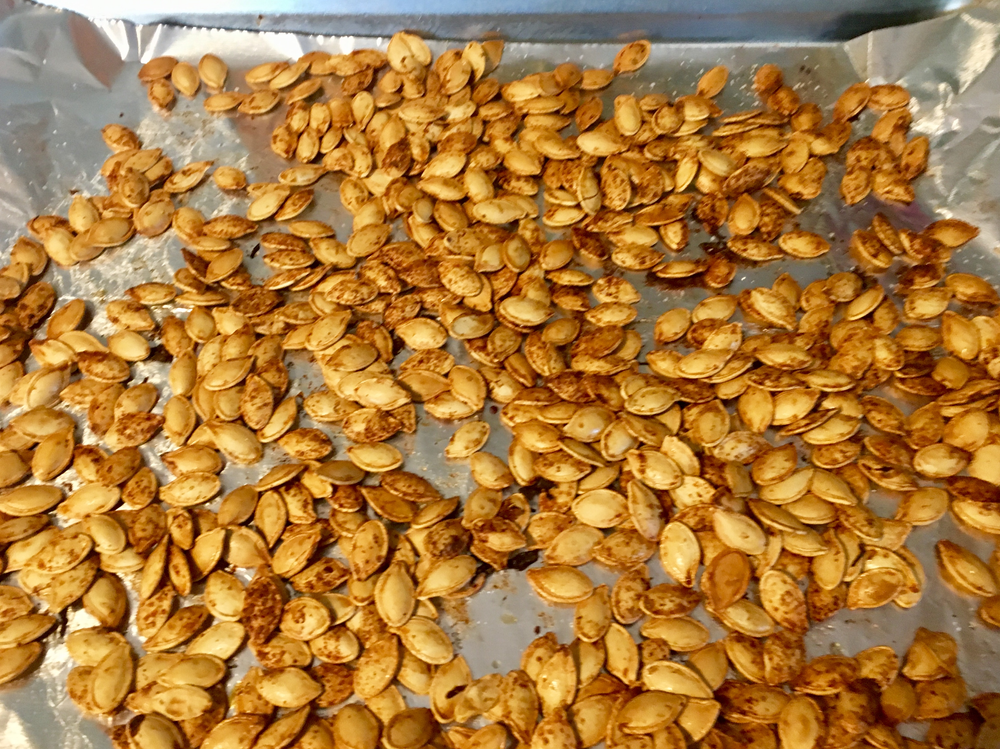
Now on to the pleasant chore of roasting those tasty seeds! Spread them onto a foil-lined cookie sheet. Spray with oil to add flavor. I dusted mine with salt, cumin, garlic powder and cayenne. A Mediterranean zest includes garlic and Italian herbs. Sprinkle with Parmesan cheese in the final ten minutes. Or sweeten with a little sugar, cinnamon, cocoa, and cayenne. Roast at 400 degrees for about 15 minutes. Stir and add a bit more oil and seasoning. Toast another ten minutes and serve in the spooky glow of your new personalized pumpkin!
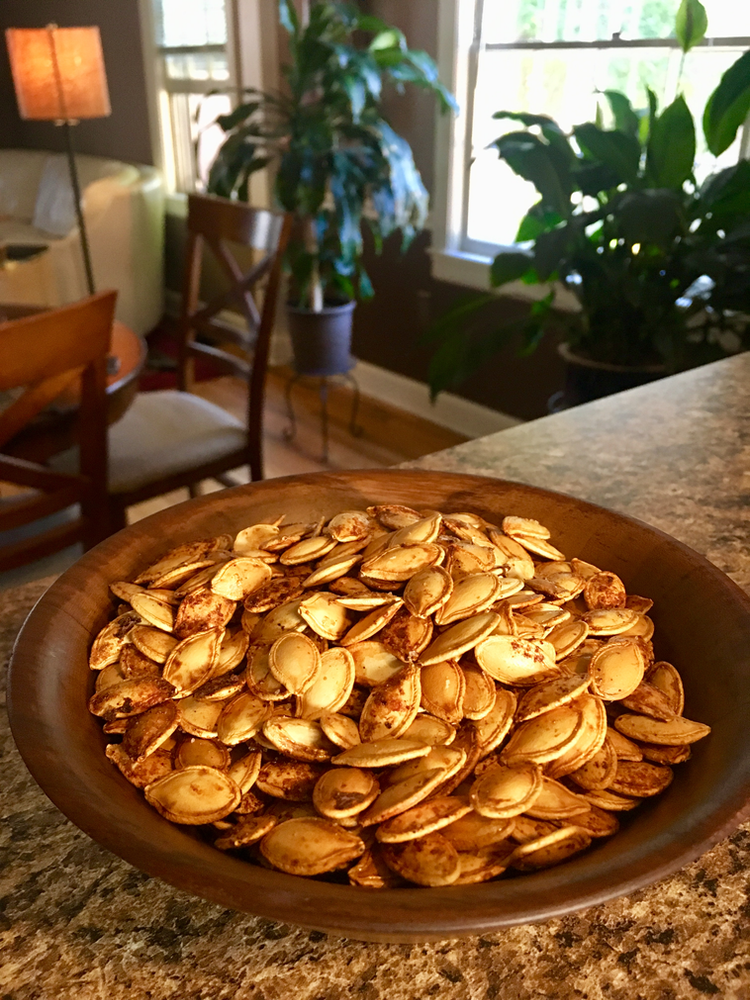
Delicious and good for you! Pumpkin seeds have lots of benefits to the body!
I hope you’ll give a DIY Personalized Pumpkin a try for yourself!
#halloween #pumpkin #jackolantern #create #gift #love #creativegift


What to do for your boyfriend who loves Halloween and you’re celebrating your anniversary in October? Well, a DIY personalized pumpkin of course! I wanted to create something special and meaningful. You can try this yourself with a photo of a loved one, couple or a pet! The fewer details and subject matter the better.…